Install OctoBot in the cloud with DigitalOcean
After installation, OctoBot starts in node mode and opens its node interface. From there you can:
- Run automations configured and monitored from the new OctoBot interface or the mobile app (recommended for most users).
- Launch manual OctoBots with their own interface, deeper configuration and the backtesting engine (for expert users).
See the getting started guide for setup steps, or the connect guide if you have connection issues.
If this is your first OctoBot, install and connect on your PC first using the getting started guide. Complete the On this computer flow on localhost before running a cloud node.
Create a DigitalOcean account
-
Create an account on DigitalOcean by following this link: DigitalOcean (or log in if you already have one).
-
Validate your account by adding a payment method.
Start the OctoBot application
-
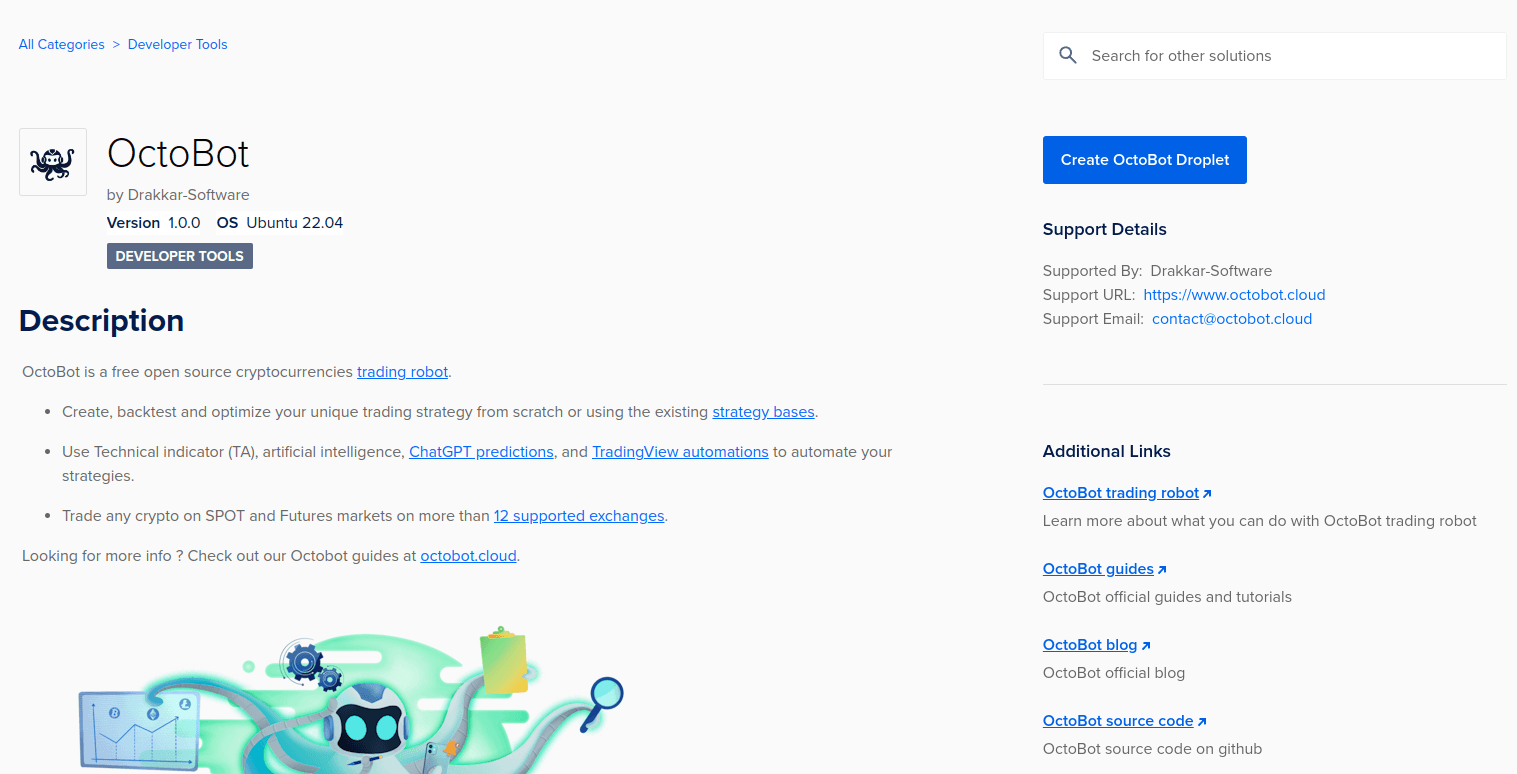
Open the OctoBot App page on Digital Ocean marketplace.
-
Click on “Create OctoBot droplet”.
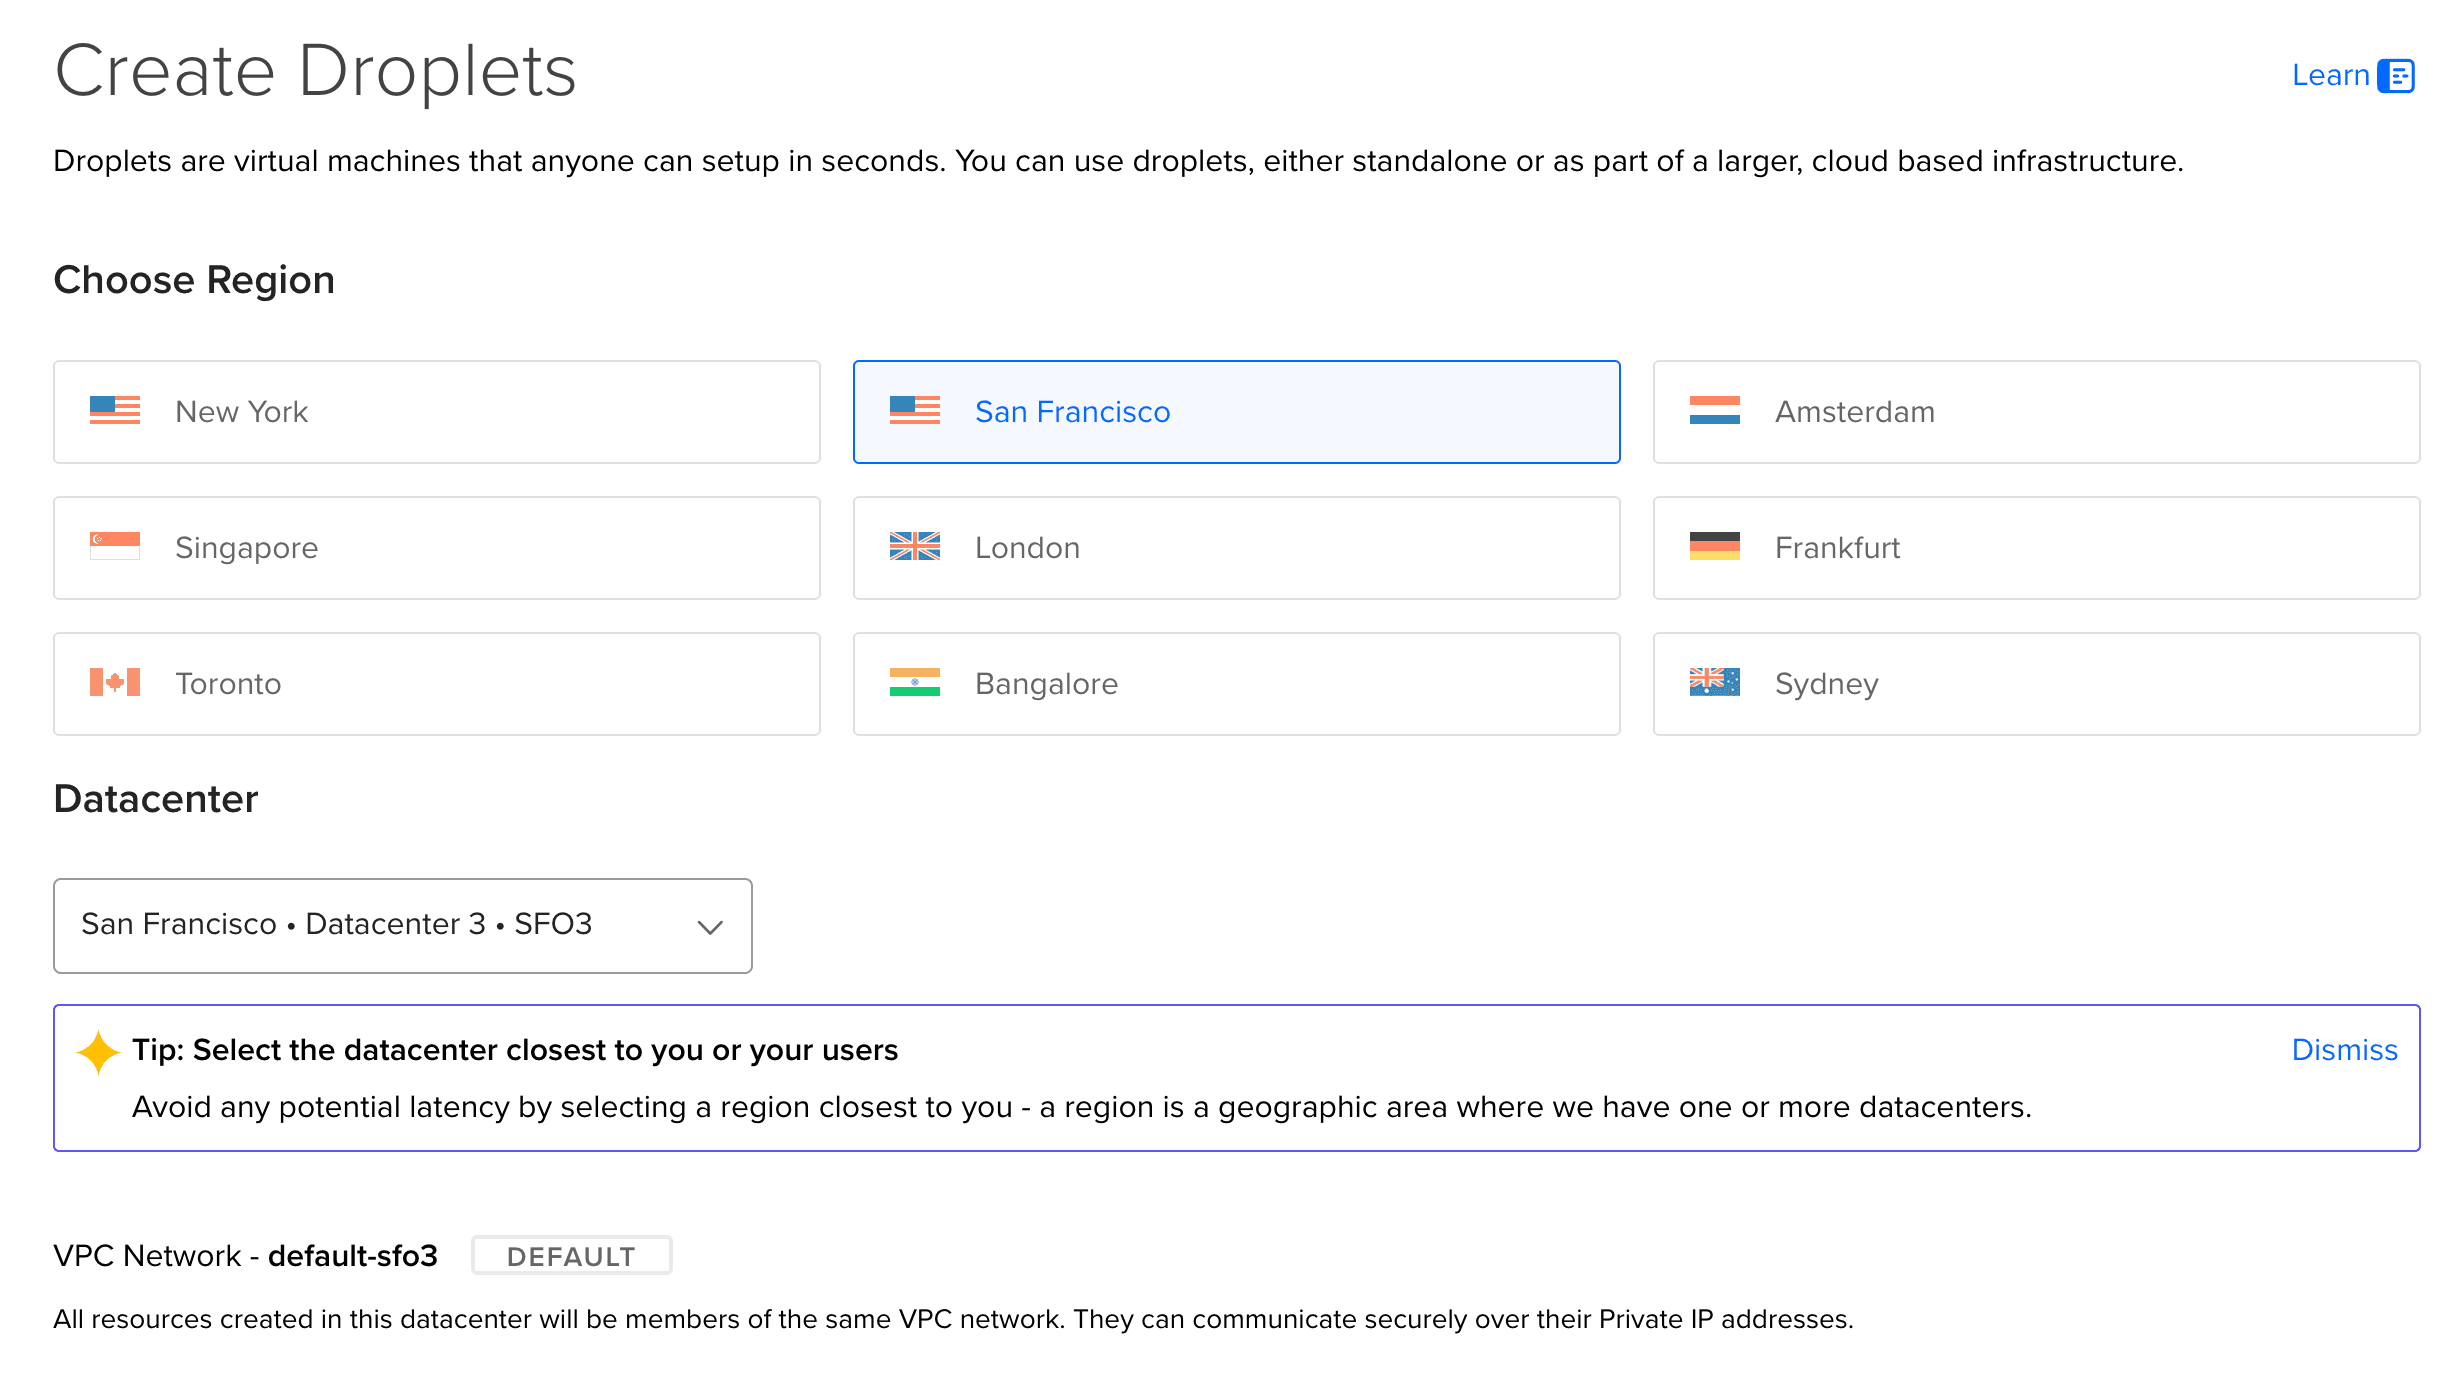
- Choose a region close to you.
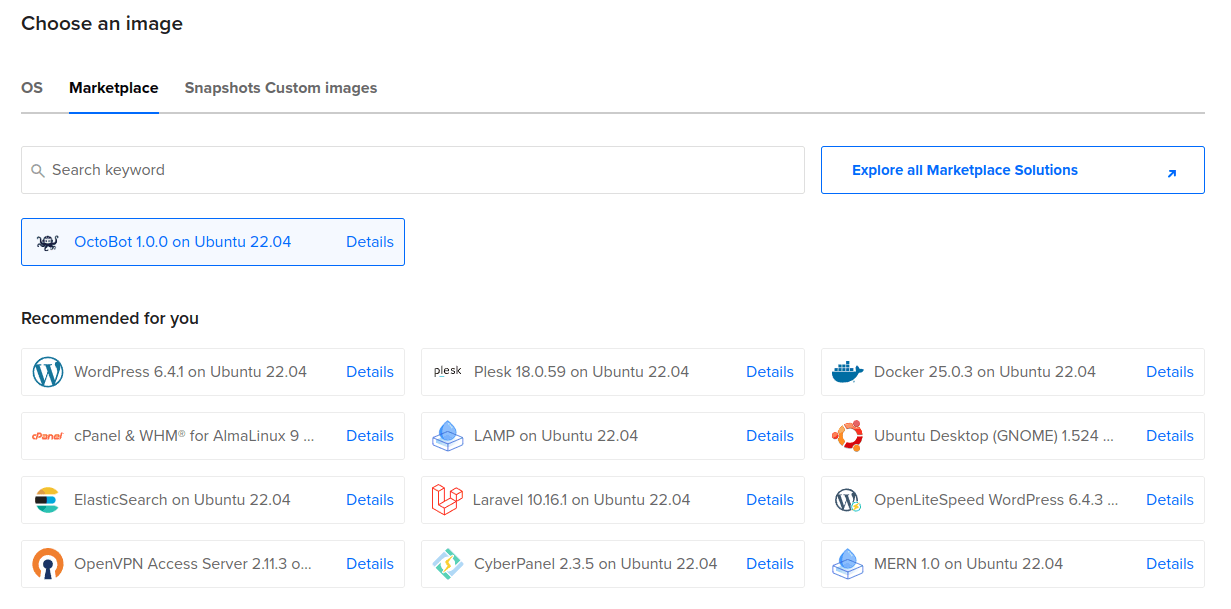
- Let the OctoBot application image selected
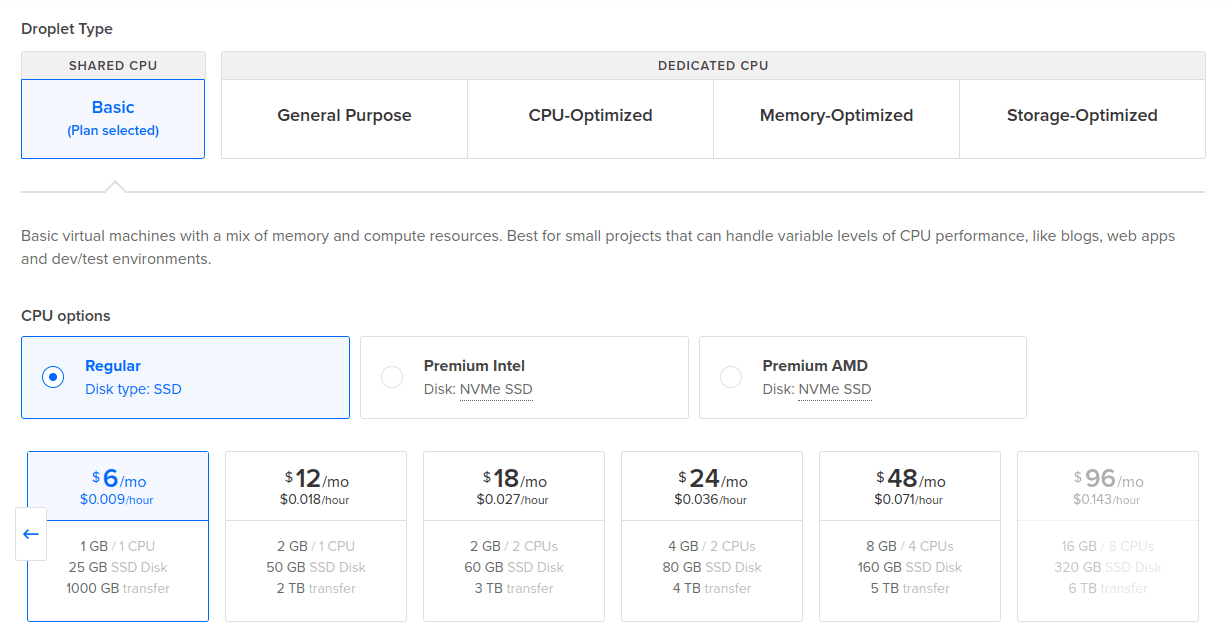
- Select the desired server power. The minimal requirement is the $6/month option.
- Enter a secure password or a ssh key.
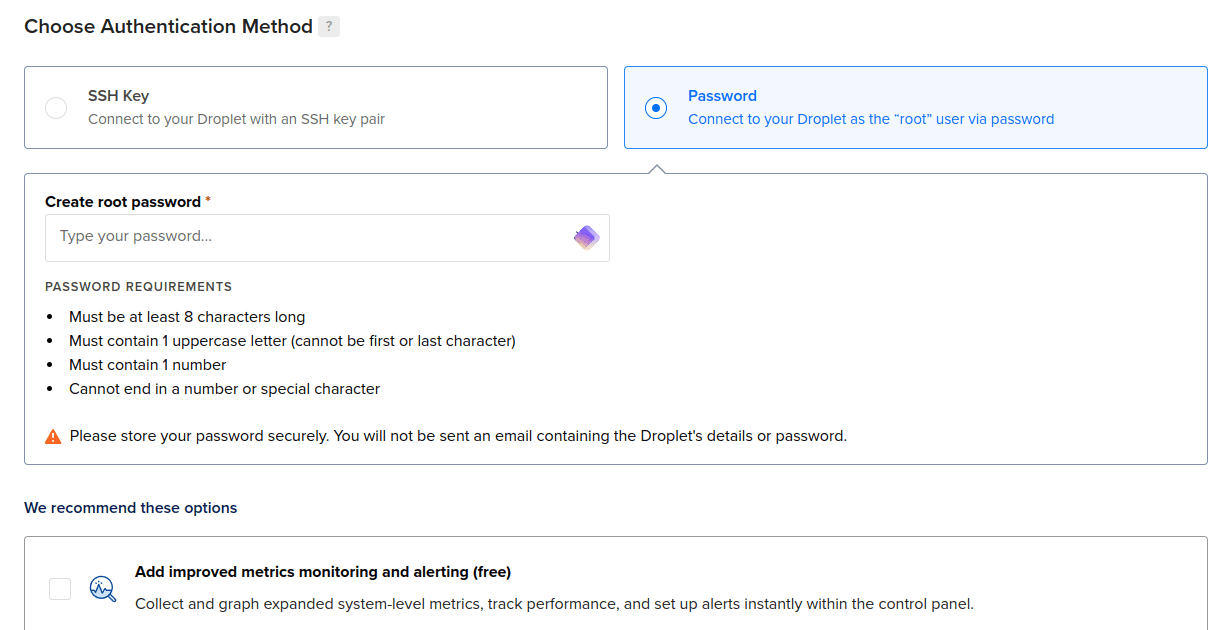
-
Click at the bottom on “Create droplet”.
-
Wait for the Droplet to start.
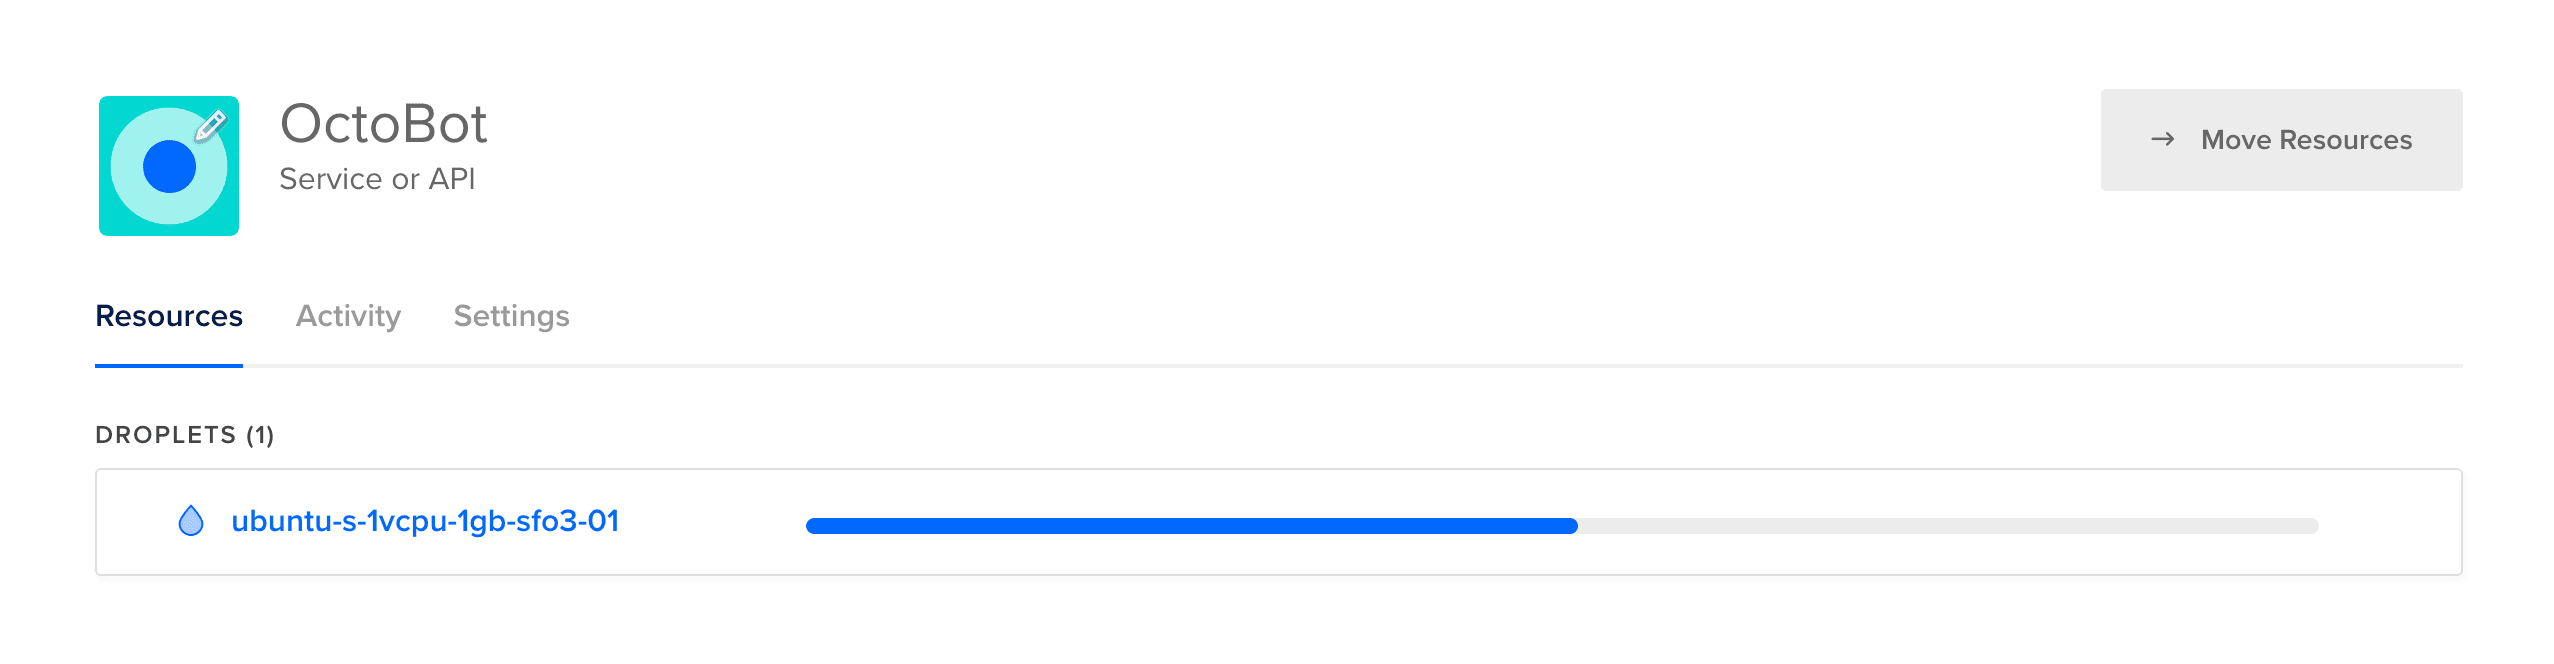
Access OctoBot
- On the DigitalOcean Droplet page, get the Droplet’s IP. For example, in this example, it’s IP
143.198.96.188.
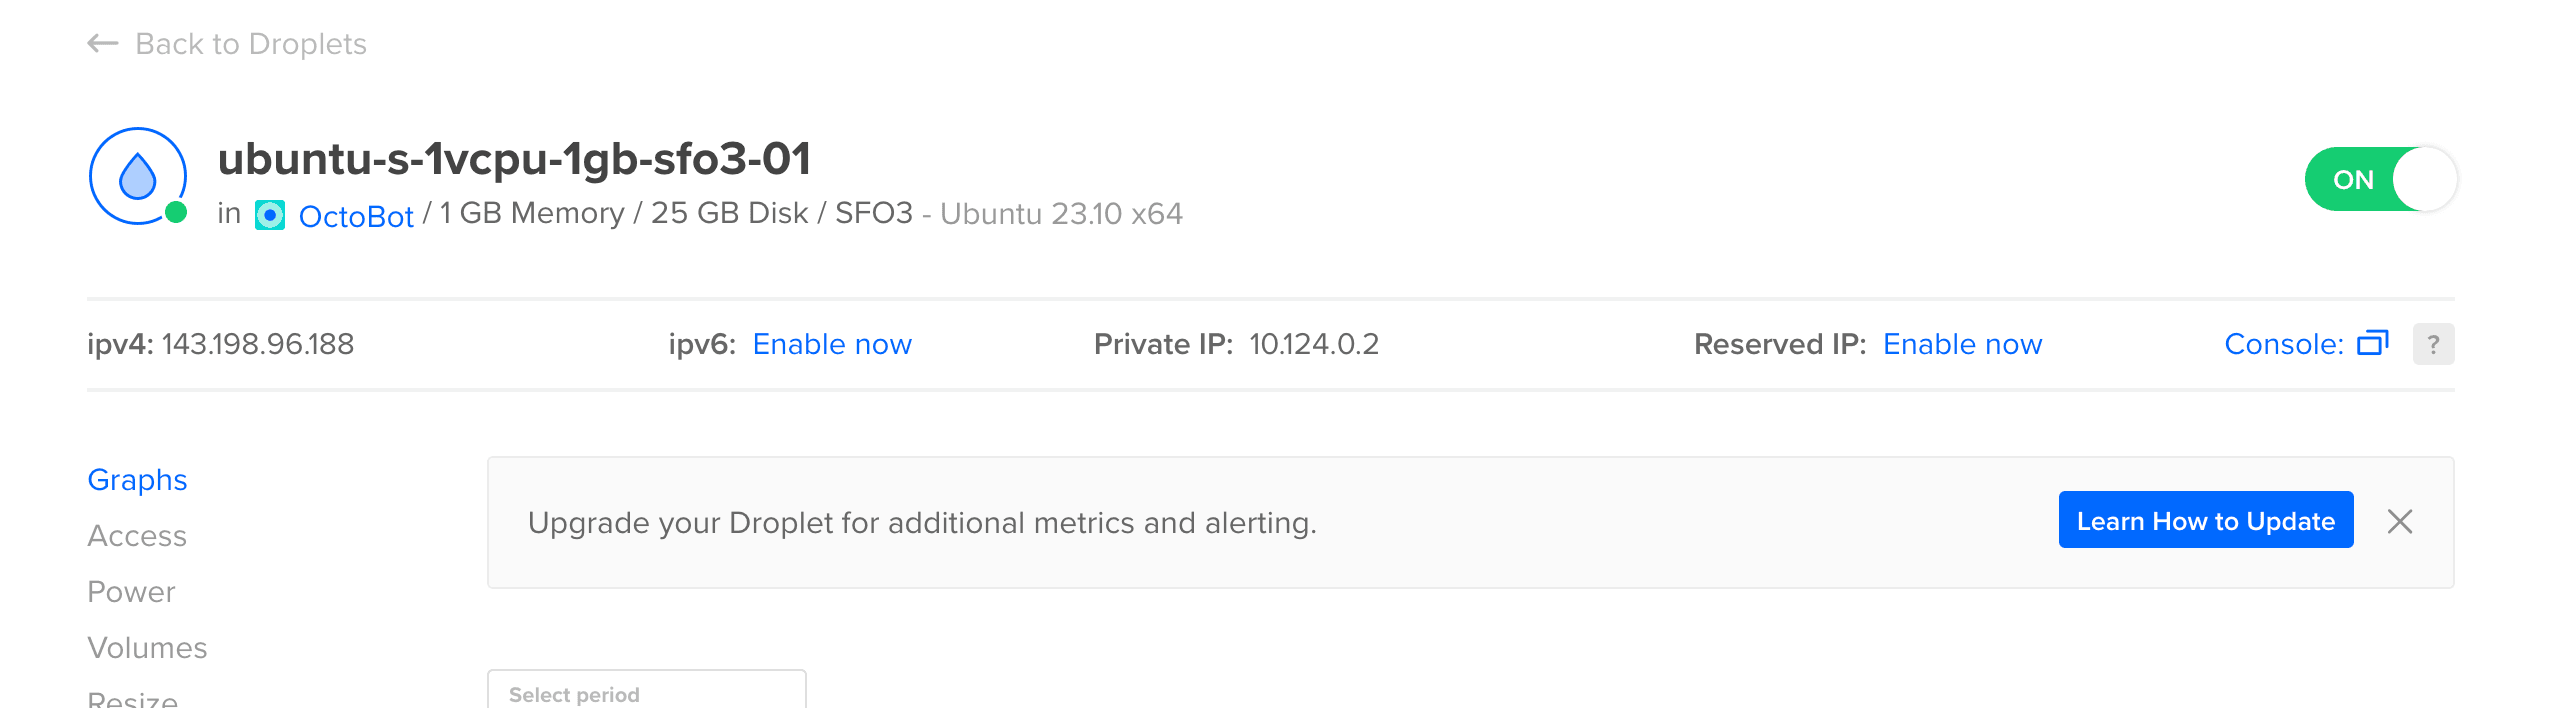
-
Copy this address.
-
Open the node interface using
https://and your droplet hostname or IP (not plainhttp://). The DigitalOcean marketplace image should terminate TLS for you. If the browser warns about the certificate, follow the provider instructions to trust or fix HTTPS.
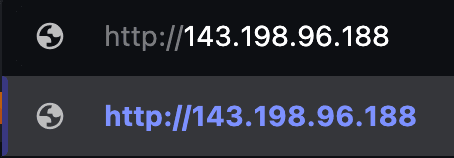
- After a few seconds, the node setup UI should appear. Connect new.mobile.octobot.cloud or the mobile apps with the same
https://URL (port optional on 443).
Anyone who knows your droplet address can try to open the node interface. Add password protection on manual OctoBots you create from the node, and keep exchange API keys scoped to what you need.
After install: Initialize your OctoBot and start your first automated strategy with a risk-free virtual account.
Initialize your OctoBot
After installation: Starting your OctoBot
- Open the node setupOctoBot runs on another computer at home (your desktop, a Raspberry Pi, etc.). On the computer where OctoBot is running, open
http://localhost:8000. - Set up your node walletOn the node, create or import your node wallet to secure your node and its data. This wallet is not a cryptocurrency wallet, do not use a crypto wallet private key and never share your private key with anyone.
- Connect your Node to your OctoBot interfaceGo to the Connect your Node to your OctoBot interface step (or Settings → Connect → Web tab) on your node's interface, from your node's computer. On your other device, open new.mobile.octobot.cloud. I already have a wallet → I already have a private key. Paste Copy your private key from this node. Then new automation → any type → Add a node → Existing install. Hostname: the IP your node shows (not localhost). Port: 8000 (or what the node shows). Click Save when the checks turn green. Still Unreachable? Check our connection troubleshoot.
- Launch your first OctoBotOn new.mobile.octobot.cloud, leave demo mode on (default for risk-free simulated trading). Add an exchange account with 1000 USDC (or the crypto of your choice). Start a new automation (for example a Grid on BTC/USDC, if you added USDC to the demo account) and follow your automation from your OctoBot interface.
- Your node is now executing your strategyWhen you start an automation, the node runs it on its computer. You do not need to keep the browser tab or app open. Just leave the OctoBot program running so that it keeps trading. You can run as many automations as you want, on most crypto exchanges, with demo and real accounts. When needed, feel free to stop and restart your node, it will resume trading when you turn it back on.
Use new.mobile.octobot.cloud or the iOS or Android app on a regular basis to follow your investments and turn automations on and off. Go back to the node interface at http://localhost:8000 only for configuration, administration, or to connect to a new phone or computer.
Connection problems? Read the Node Connect Guide. If your node shows Unreachable, see connection common issues.